Migrate from Mapbox
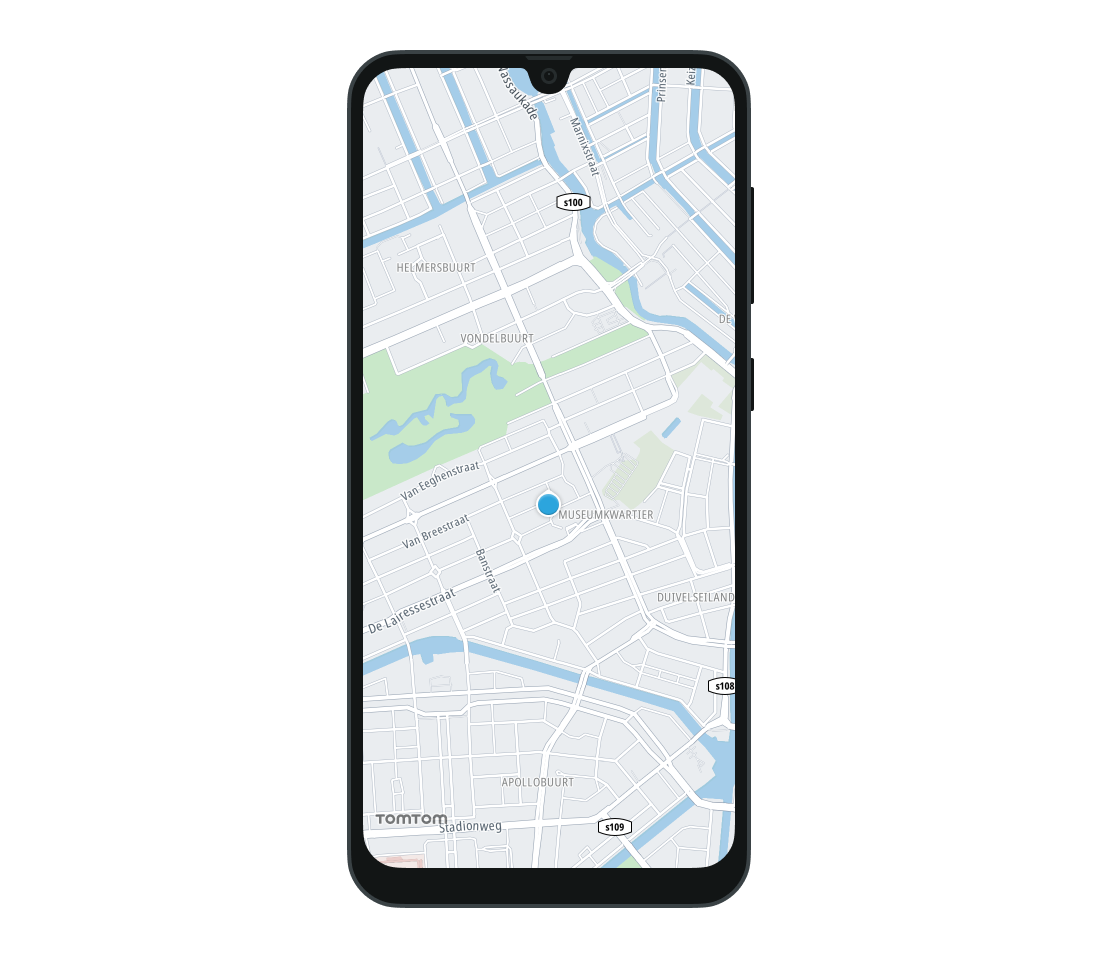
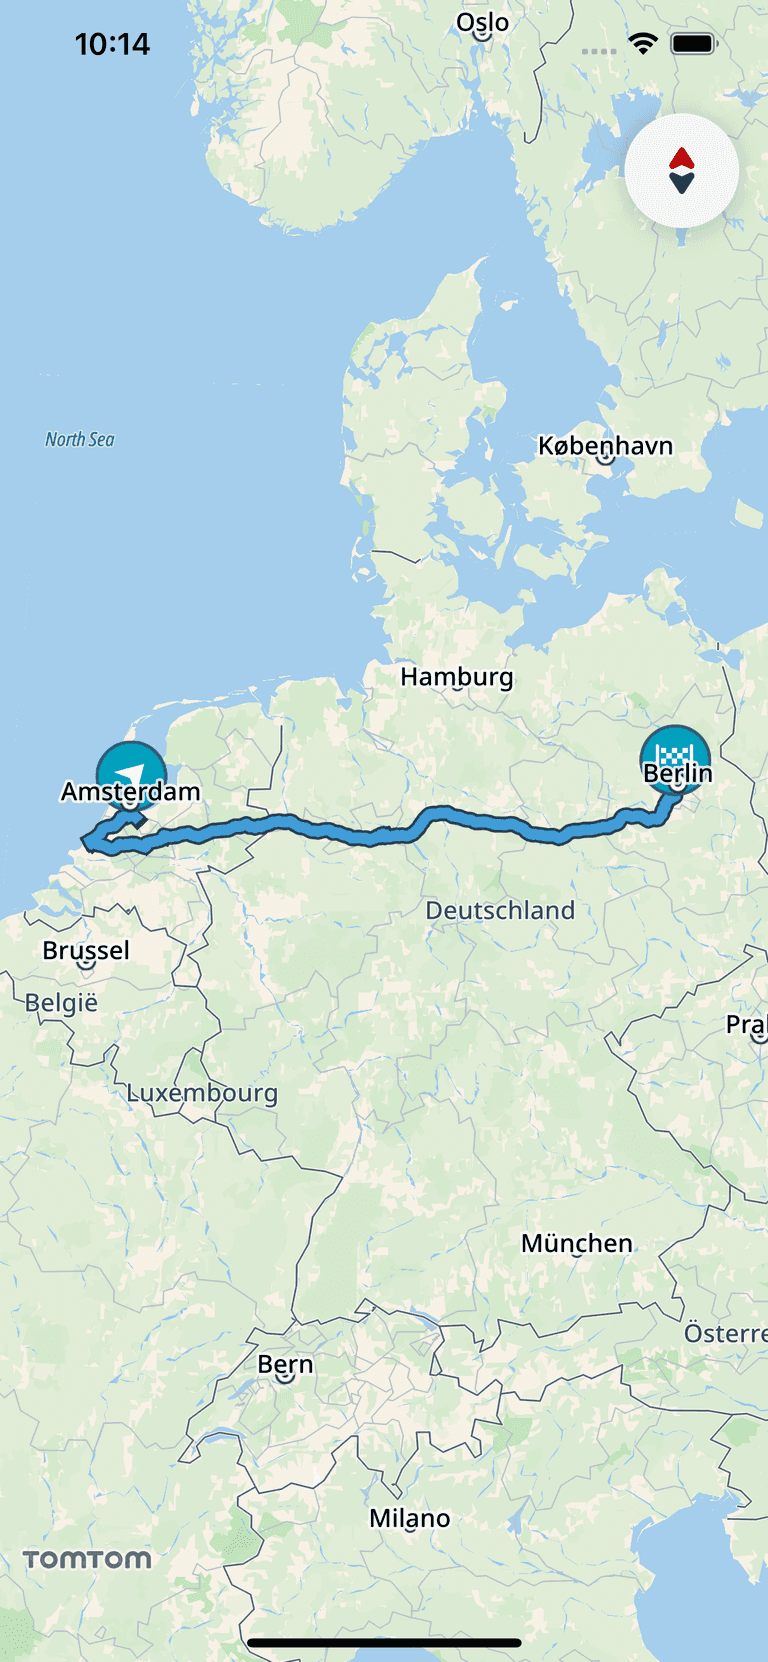
This tutorial contrasts the TomTom SDKs with the Mapbox SDK, showing the most important differences between them. For this purpose, a simple navigation application was created using Mapbox and TomTom SDKs. The application displays a map with the user’s location on it. Next, the app draws a marker at a place that the user has selected with a long click on the map. It then calculates a route from the user’s location to the selected destination and adds it to the map. Finally, it performs navigation along the route.
This tutorial compares the TomTom SDK to the Mapbox Navigation SDK. Some implementations may vary from the Mapbox Maps SDK.
Project setup
-
Configure the project as described in the project setup guide.
-
Import the necessary frameworks using the following instructions, based on your preferred package manager. This tutorial uses the
TomTomSDKMapDisplay,TomTomSDKRoutePlannerOnline,TomTomSDKNavigation, andTomTomSDKSearchmodules.Swift Package Manager
- Open your App’s target and navigate to General > Frameworks, Libraries, and Embedded Content.
- Add the following TomTomSDK libraries from the provided code snippet. Once the project is set up, import the mentioned frameworks into your code.
1import TomTomSDKCommon2import TomTomSDKLocationProvider3import TomTomSDKMapDisplay4import TomTomSDKNavigation5import TomTomSDKNavigationEngines6import TomTomSDKNavigationOnline7import TomTomSDKNavigationTileStore8import TomTomSDKRoute9import TomTomSDKRoutePlanner10import TomTomSDKRoutePlannerOnline11import TomTomSDKRoutingCommonCocoaPods
- Add the following modules to your project’s
Podfile:1TOMTOM_SDK_VERSION = '0.69.2'23target 'YourAppTarget' do4 use_frameworks!5 pod 'TomTomSDKMapDisplay', TOMTOM_SDK_VERSION6 pod 'TomTomSDKRoutePlannerOnline', TOMTOM_SDK_VERSION7 pod 'TomTomSDKNavigation', TOMTOM_SDK_VERSION8 pod 'TomTomSDKSearch', TOMTOM_SDK_VERSION9end - Install the dependencies by executing the following commands in the project directory:
pod repo-art update tomtom-sdk-cocoapodspod install --repo-update
- Import the following frameworks:
1import TomTomSDKCommon2import TomTomSDKLocationProvider3import TomTomSDKMapDisplay4import TomTomSDKNavigation5import TomTomSDKNavigationEngines6import TomTomSDKNavigationOnline7import TomTomSDKNavigationTileStore8import TomTomSDKRoute9import TomTomSDKRoutePlanner10import TomTomSDKRoutePlannerOnline11import TomTomSDKRoutingCommon
-
Create a class with the TomTom API keys. These will be used later in the application.
1private enum Keys {2 static let tomtomApiKey = "YOUR_TOMTOM_API_KEY"3}
Displaying a map
Mapbox SDK
Before using the Mapbox SDK you must set the public access token in the Info.plist.
- Initialize
NavigationMapView. This draws aMapViewand provides additional functionality such as drawing a route.navigationMapView = NavigationMapView(frame: view.bounds) - Add the initialized
MapViewto the parent view.view.addSubview(navigationMapView)
TomTom SDKs
To display a map in the TomTom SDK for iOS:
- Set the valid TomTom API key.
MapsDisplayService.apiKey = Keys.tomtomApiKey
- Initialize the
MapView. This is used to display a map in the view hierarchy.let mapView = MapView(frame: view.frame) - Add the initialized
MapViewto the parent view.view.addSubview(mapView) - Most actions performed on the map are made using the
TomTomMapobject. It can be accessed only when the map is fully initialized. Learn more about it in the Adding a map guide.1mapView.onMapReadyCallback = { map in2 self.map = map3}

Showing user location
To access the user location you must configure the following purpose strings in the Xcode build setting or in
Info.plist:NSLocationWhenInUseUsageDescription,NSLocationAlwaysAndWhenInUseUsageDescription, orNSLocationAlwaysUsageDescription. The correct key must be included or authorization requests immediately fail and the map cannot get the user location.To get appropriate permissions, you must send authorization request by calling
requestWhenInUseAuthorization()orrequestAlwaysAuthorization()on theCLLocationManagerinstance respectively. Complete instructions to request location permissions on iOS can be found at Requesting authorization for location services.
Mapbox SDK
To show the user location on the map in the Mapbox SDK you must set UserLocationStyle.
view.addSubview(navigationMapView)
To move the camera to the user location, set the ViewportDataSource.
1navigationMapView.navigationCamera.viewportDataSource = NavigationViewportDataSource(2 navigationMapView.mapView,3 viewportDataSourceType: .raw4)
TomTom SDK
To show the user location on the map, change the TomTomMap.locationIndicatorType to either LocationIndicator.userLocation(scale:) or LocationIndicator.navigationChevron(scale:). By default, CLLocationManager is used as the source of location updates. However, you can also provide your own source. Learn more about user location in the Showing the user’s location guide.
map.locationIndicatorType = .userLocation
By default the center button is hidden. To show it, change its visibility using MapView.
mapView.currentLocationButtonVisibilityPolicy = .hiddenWhenCentered
You can also set the camera to follow the user’s location. To follow the user’s location use CameraTrackingMode.followNorthUp(_:).
map.cameraTrackingMode = .followNorthUp()

Adding a marker
Mapbox SDK
- Adding a marker in the Mapbox SDK is done with
PointAnnotationManager. Create it usingAnnotationOrchestrator.let pointAnntotationManager = navigationMapView.mapView.annotations.makePointAnnotationManager() - Initialize
PointAnnotationto represent the marker. Use this to configure the appearance and properties of the marker.var pointAnnotation = PointAnnotation(coordinate: coordinate)pointAnnotation.image = .init(image: UIImage(named: "marker_pin")!, name: "destination") - Set the created
PointAnnotationto the collection managed byPointAnnotationManager.pointAnntotationManager.annotations = [pointAnnotation]
TomTom SDK
To add a marker in the TomTom SDK complete the following steps:
- Create the
MarkerOptionsobject with the marker properties. You can use this object to configure the appearance of the marker.let markerOptions = MarkerOptions(coordinate: coordinate, pinImage: UIImage(named: "marker_pin_image")!) - Set the created
MarkerOptionsto theTomTomMapobject. NOTE: If adding a marker fails, an error is thrown. Learn more about working with markers in the TomTom SDK Adding a Marker document._ = try? map.addMarker(options: markerOptions)
Drawing a route
This section describes how to calculate and draw a route from the user location to a chosen destination.
Mapbox
The first step is to get the coordinates of the user’s current location. The current location is used as the starting point of the calculated route.
+
guard let userCoordinate = navigationMapView.mapView.location.latestLocation?.coordinate else { return }
- Wrap the prepared origin and destination coordinates in the
Waypointclass and provide them to theNavigationRouteOptionsconstructor.1let origin = Waypoint(coordinate: userCoordinate)2let destination = Waypoint(coordinate: destination)34let routeOptions = NavigationRouteOptions(waypoints: [origin, destination], profileIdentifier: .automobileAvoidingTraffic) - Calculate routes with the given options. The result is returned via the closure provided as a parameter.
1Directions.shared.calculate(routeOptions) { _, result in2 switch result {3 case .failure:4 // failure case5 break6 case let .success(response):7 guard let route = response.routes?.first else { return }8 self.drawRoute(route: route)9 }10}
- Finally, draw a calculated route on the map. You can also mark waypoints on the route.
1private func drawRoute(route: Route) {2 navigationMapView.show([route])3 navigationMapView.showWaypoints(on: route)4}
TomTom SDK
The TomTom Routing API allows the app to easily calculate a route between two points, add waypoints, and specify other route properties. The requested Route can then be drawn on the map. Detailed information about routing in the TomTom SDK is found in the Routing module documentation. A good place to start is the Quickstart guide.
- In the current TomTom SDKs the entry point to the routing service is the
OnlineRoutePlannerclass. Prepare a property to hold its instance.private var routePlanner: OnlineRoutePlanner! - Before accessing the Online RoutePlanner you must initialize the
OnlineRoutePlannerobject with a TomTom API key.routePlanner = OnlineRoutePlanner(apiKey: Keys.tomtomApiKey) - Build and perform the route request. The request requires departure and destination coordinates. You can also provide additional parameters. Add them all using the
RoutePlanningOptionsstruct and then use the object to perform the routing request. As with the SDK, routing results are returned in the provided closure. You can read more about routing in the Planning a route guide.1let itinerary = Itinerary(origin: departure, destination: destination)2let routingOptions: RoutePlanningOptions3do {4 routingOptions = try RoutePlanningOptions(5 itinerary: itinerary,6 costModel: CostModel(routeType: .fast),7 vehicle: Car()8 )9} catch {10 print("Invalid planning options: \(error.localizedDescription)")11 return12}1314routePlanner.planRoute(options: routingOptions, onRouteReady: nil, completion: { result in15 switch result {16 case let .success(routingResponse):17 self.handleRoutingResponse(routingResponse)18 case let .failure(error):19 print("API error: \(error.localizedDescription)")20 }21}) - Use the result of the call to draw a route on the map. To do this, get the route that you want to draw from the
RoutePlanningResponse. Use theRouteto build aRouteOptionsobject. This is also the place to specify visual properties for the route. Then add theRouteOptionsto theTomTomMap. NOTE: If adding a route to the map failed an error is thrown.
When you display all of the routes, you can also specify the padding from the edges of the map. You can read more about adding a route to the map in the Routes guide.
+
1guard let route = routingResponse.routes?.first else { return }2var routeOptions = RouteOptions(coordinates: route.geometry)3routeOptions.color = .red4_ = try? map.addRoute(routeOptions)5map.zoomToRoutes(padding: 50)
Navigation
The last part of this tutorial is about navigation along the previously-calculated route. Navigation shows the current speed limit, the next maneuver, and the estimated remaining time and distance for the trip.
Mapbox SDK
In the Mapbox SDK for iOS, navigation can be completely handled by NavigationViewController. It provides a separate view with the map and UI components. It shows the information required for navigation such as maneuvers, estimated time, and voice instructions.
let navigationViewController = NavigationViewController(for: routeResponse, routeIndex: 0, routeOptions: routeOptions)
Then present the initialized NavigationViewController.
present(navigationViewController, animated: true, completion: nil)
If you want to observe navigation updates such as arrival, rerouting, or progress, you must use NavigationViewControllerDelegate.
TomTom SDK
This tutorial contains a superficial description of navigation. If you want to learn more about how to use the Navigation SDK, you can read the guides. A good place to start is the Navigation quickstart guide.
In the TomTom SDK for iOS, navigation is handled in a slightly different way than in the Mapbox SDK. It does not provide an additional controller for navigation, meaning that you have to make visual adjustments on your own.
The entry point to interact with navigation is in the TomTomNavigation interface. Therefore it must be initialized before starting a trip session. TomTomNavigation can be created using the OnlineTomTomNavigationFactory, OfflineTomTomNavigationFactory or HybridTomTomNavigationFactory. It requires a valid TomTom API key and the RouteReplanningEngine that is needed for route replanning during navigation. You can set custom engines such as LocationProvider. Learn more about Navigation modularization in the Navigation modularization document.
1let locationEngine = DefaultCLLocationProvider()2let navigationConfiguration = OnlineTomTomNavigationFactory.Configuration(3 navigationTileStore: try NavigationTileStore(config: NavigationTileStoreConfiguration(apiKey: Keys.tomtomApiKey)),4 locationProvider: locationEngine,5 routePlanner: routePlanner6)7navigation = try OnlineTomTomNavigationFactory.create(configuration: navigationConfiguration)
Once navigation is initialized and the Route is calculated, you can start it. To use turn-by-turn navigation, provide the RoutePlan property to the navigation start method. It requires the calculated Route and RouteOptions that are used in route replanning.
1do {2 let routePlan = RoutePlan(route: route, routePlanningOptions: routingOptions)3 let navigationOptions = NavigationOptions(activeRoutePlan: routePlan)4 try navigation.start(navigationOptions: navigationOptions)5} catch {6 print("An error occurred: \(error)")7}
For a better user experience, change the location indicator to a chevron and set the appropriate camera tracking mode.
map.cameraTrackingMode = .followRouteDirection()map.locationIndicatorType = .navigationChevron
The last recommended step is setting the map-matched location provider from the TomTomNavigation to the TomTomMap. This matches the raw location updates to the route and provides a predicted location to give the best user experience if the GPS loses the signal.
map.locationProvider = navigation.mapMatchedLocationProvider
TomTomSDKNavigation.NavigationObserver can be used to get more information from the navigation session. This includes the observation of its progress, instructions, and replanning. For implementations of the TomTomSDKNavigation.NavigationObserver protocol, implement requirements of the added protocols, remove implementation of the methods of the removed protocol, and change method calls respectively, where necessary. It may also be useful to implement the navigation UI components.

